Trailer wheel bearing replacement / fitting guide
Here is a guide that will help you install trailer wheel bearings.
Trailer wheel bearings can become damaged or worn out over time just like any other, so it is important that you remember to maintain them. Wear and tear through regular use is a gradual process, but you can cause unnecessary damage through two easily avoidable mistakes.
The first mistake many people make is overloading the trailer. If you exceed your trailers maximum weight you are putting more stress on the wheels and axles than they are designed to take. The wheels and axles themselves are less likely to break, but smaller internal parts such as wheel bearings are at great risk of becoming badly damaged.
The second mistake people often make is loading the trailer unevenly. This is a bad idea in a few different ways.
Firstly, this can cause major stability issues while towing. Towing an unstable trailer can be dangerous to everybody around it, if the police see a badly loaded trailer in tow they can, and probably will stop you.
Secondly, uneven pressure from a poorly loaded trailer can cause different rates of wear for each bearing. For example, a trailer loaded heavily to the right will cause the right hand bearing to work much harder than that on the left because it is under more pressure. If this is a regular occurrence, it will effectively shorten that bearings lifespan.
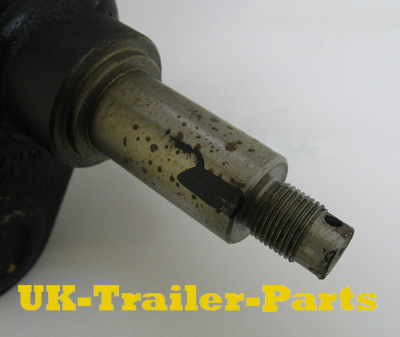
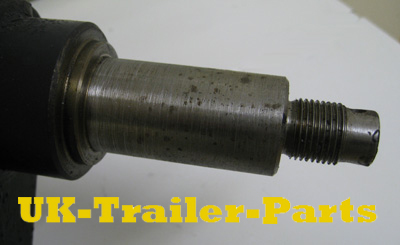
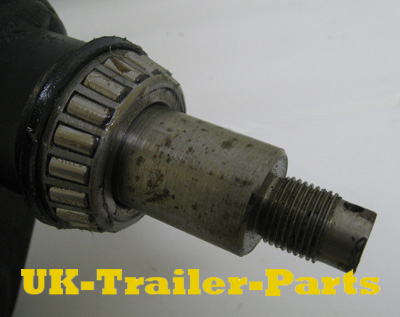
The first step when fitting new bearings is to check the condition of the shaft on the suspension unit. This should be clean, free of rust, and have no splashes of paint from when the suspension unit was painted. A quick rub with sandpaper will clean this up.
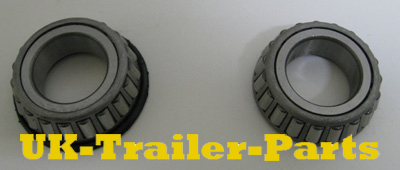
At this point it is important to identify which bearing is the front and which is the rear. Some rear bearings have a built in seal, others have separate ones that will need tapping into place with a rubber mallet.
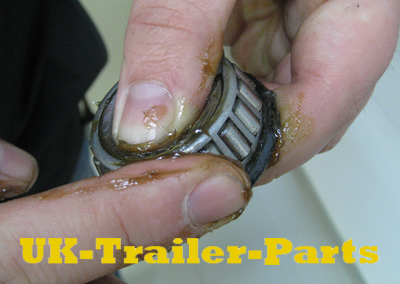
Your new bearings now need to be thoroughly greased and prepared for fitting. For best results grease new bearings by hand.
Slide the rear bearing onto the shaft making sure it is firmly pushed all the way back. Remember that the rear seal must face outwards from the hub (towards the suspension unit).
Grease the inside of the hub and insert the front bearing with the tapered edge facing in.
Slide the hub onto the shaft. Remember that the wheel nuts face out.
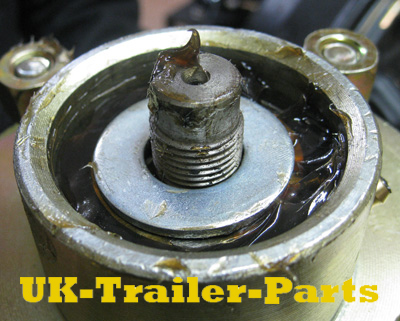
Grease the front bearing again now it is in the hub, and place a large washer on top of it.
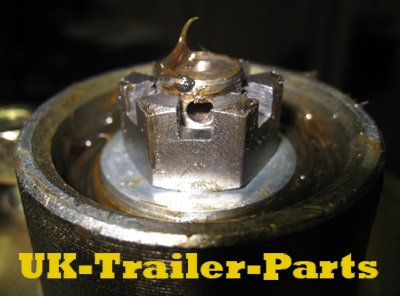
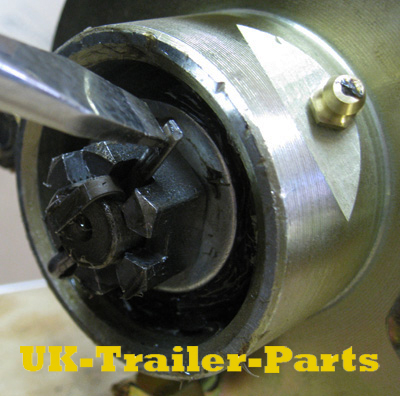
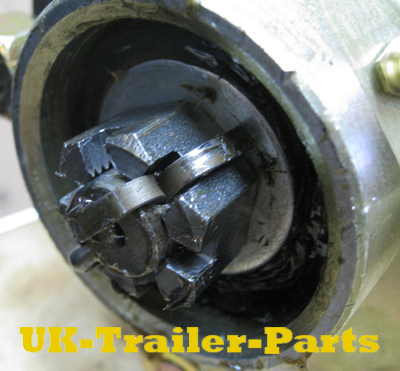
Tighten up the castle nut to 70Nm then rotate the hub buy hand to settle the bearings then loosen the nut and re tighten by hand until there is no or very little play in the bearing. Turn the castle nut back a fraction until you can clearly see the small hole that the split-pin passes through. DO NOT over tighten as this will give premature bearing failure.
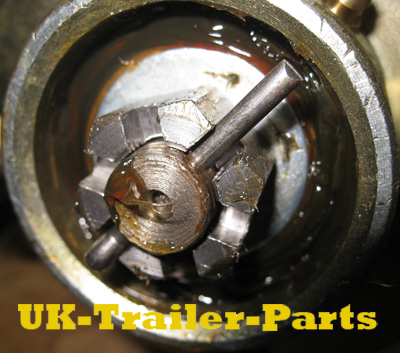
Push the split-pin through this hole and open it out with a screwdriver and small hammer.
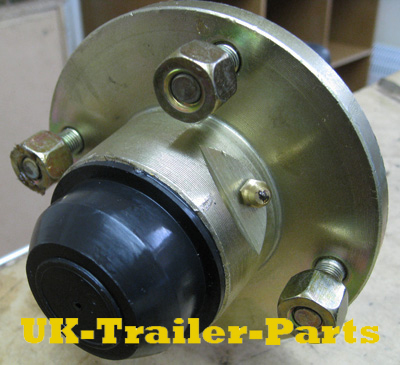
Now the whole unit is pinned together, all that remains is to fit the hub-cap that covers the bearings to keep dirt and water out.


